General Ledger
The general ledger stores your financial data, and the chart of accounts shows the accounts that all general ledger entries are posted to. MatterX includes a standard chart of accounts that is ready to support your business.
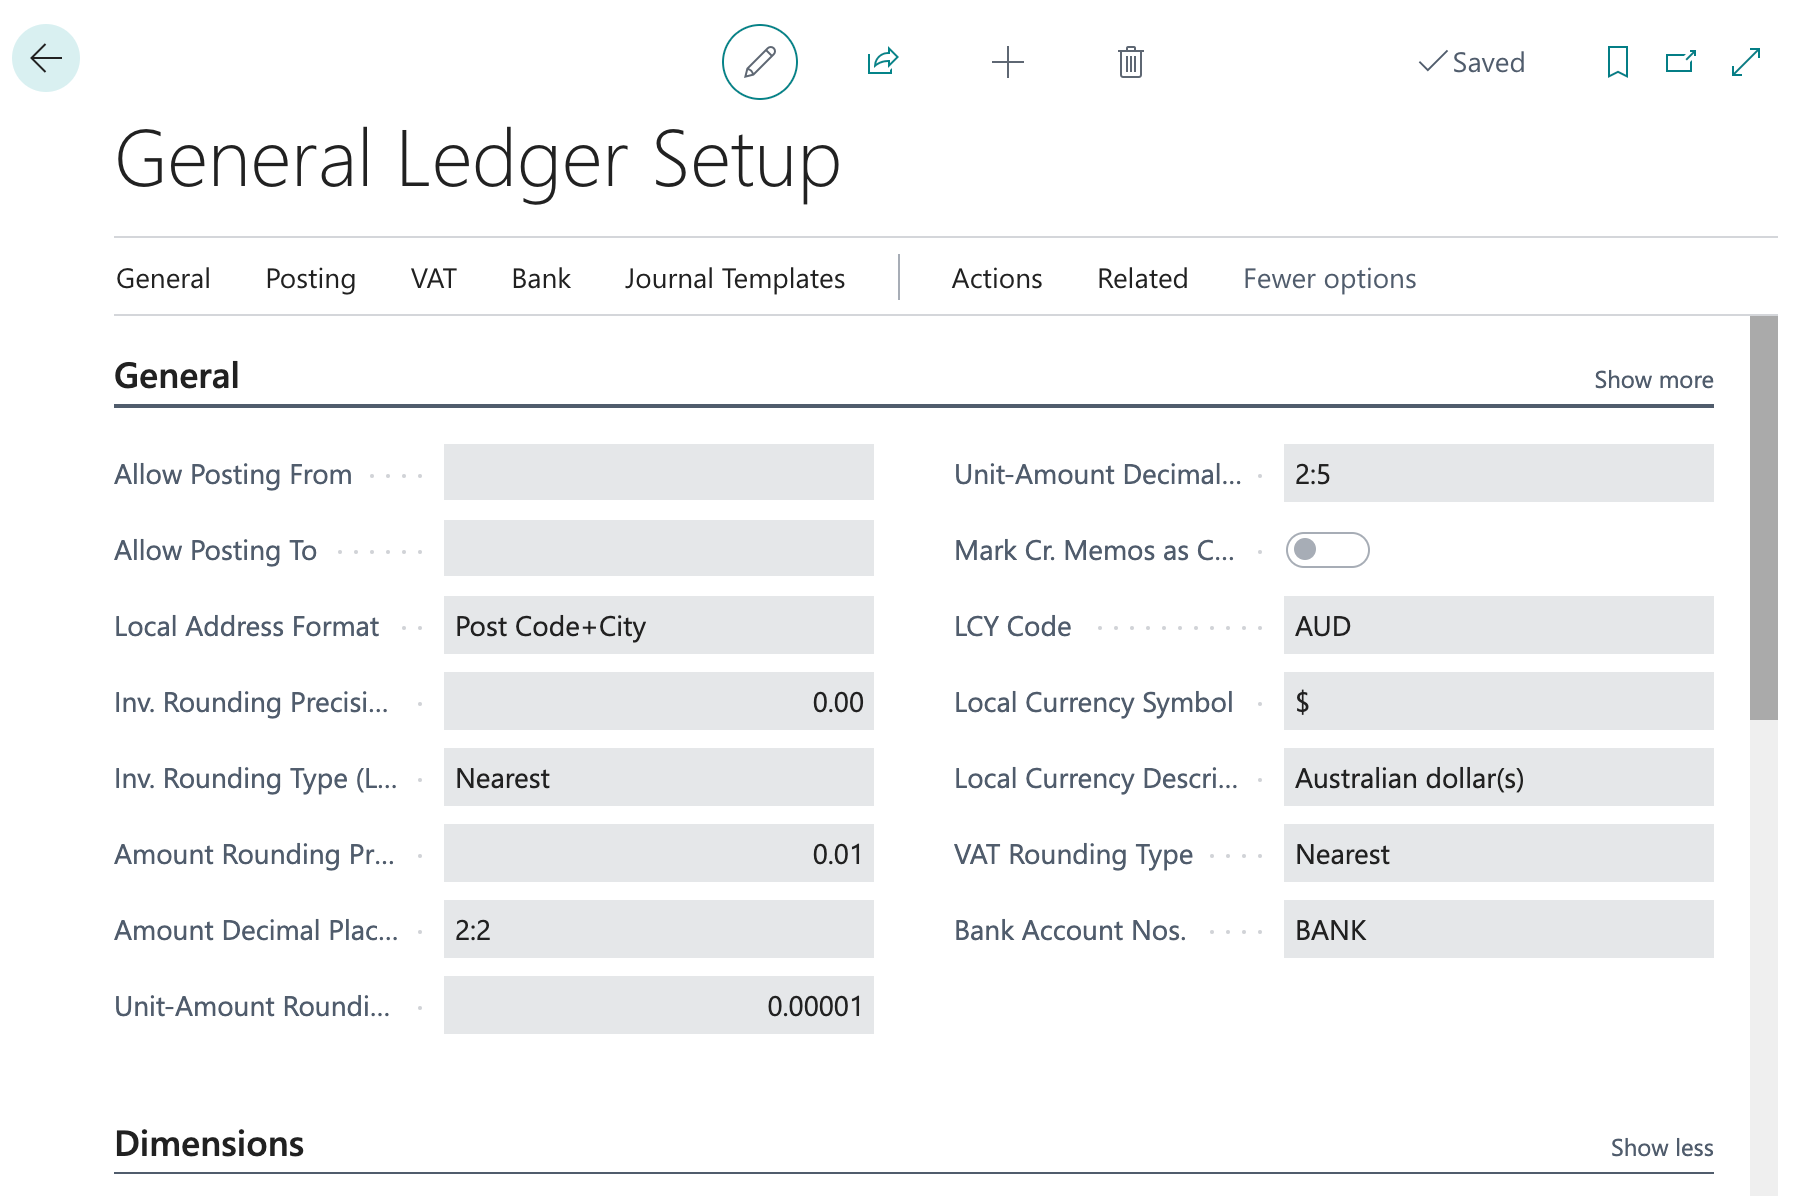
General Ledger Setup and General Posting Setup
The setup of the general ledger is at the core of financial processes because it defines how you post data.
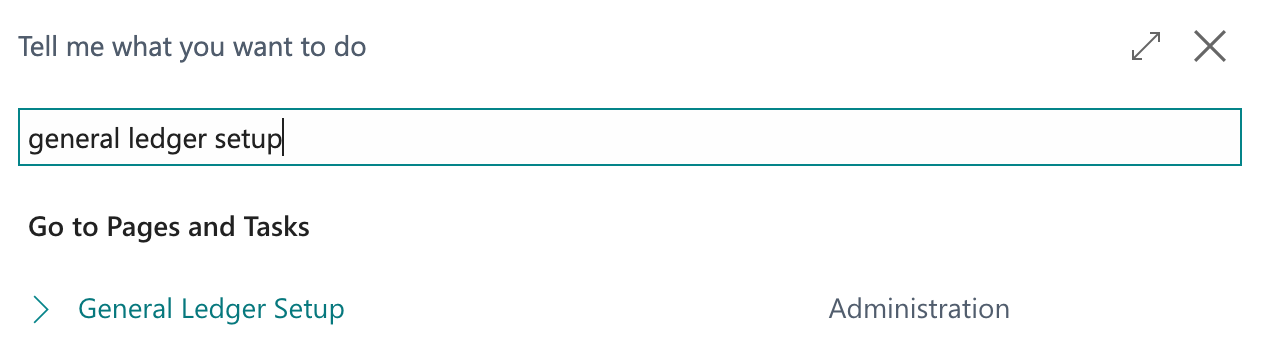
On the General Ledger Setup page, you specify how to handle certain accounting issues in your company, such as:
- Invoice rounding details
- Address formats
- Financial reporting
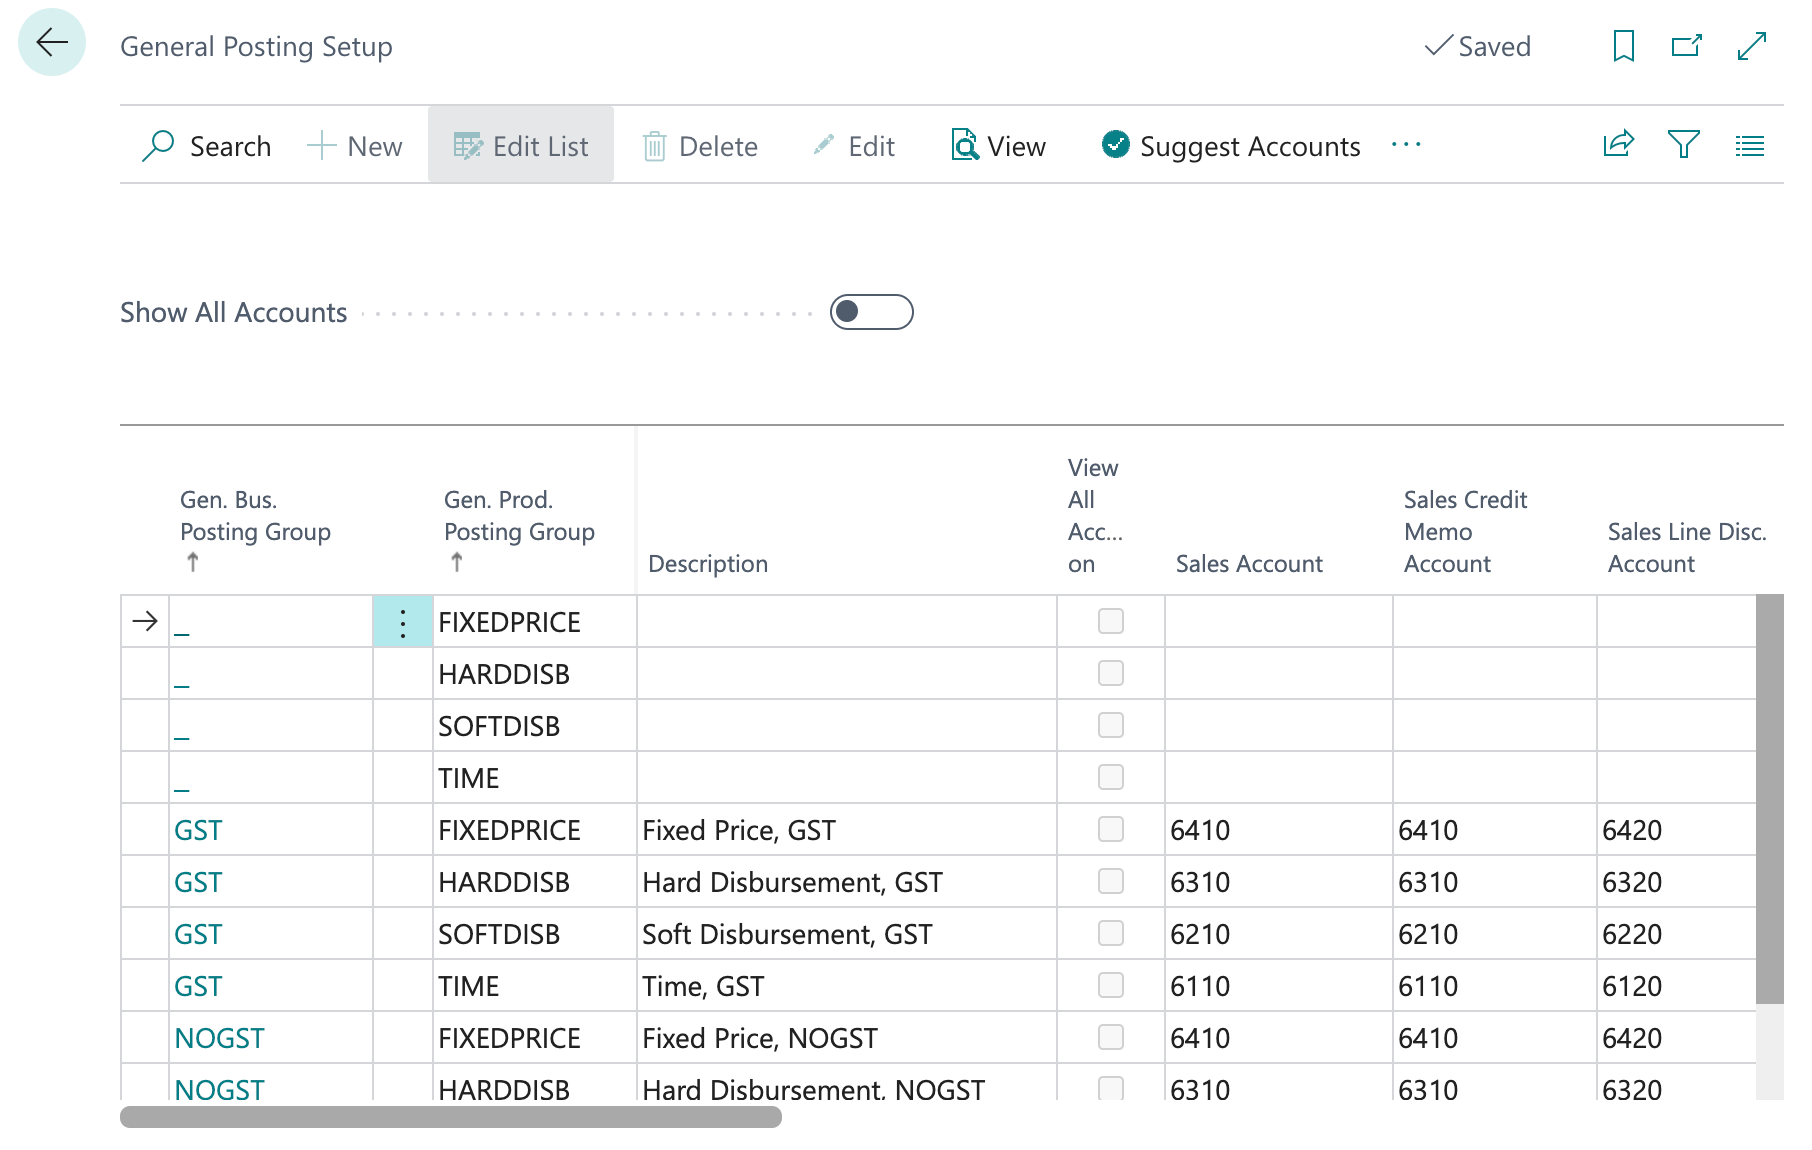
Similarly, on the General Posting Setup page, you specify how you want to set up combinations of general business and general product posting groups. Posting groups map entities like clients, vendors, matters, resources, and sales and purchase documents to general ledger accounts. You fill in a line for each combination of business posting group and product posting group. For more information, see [Posting Group Setups].
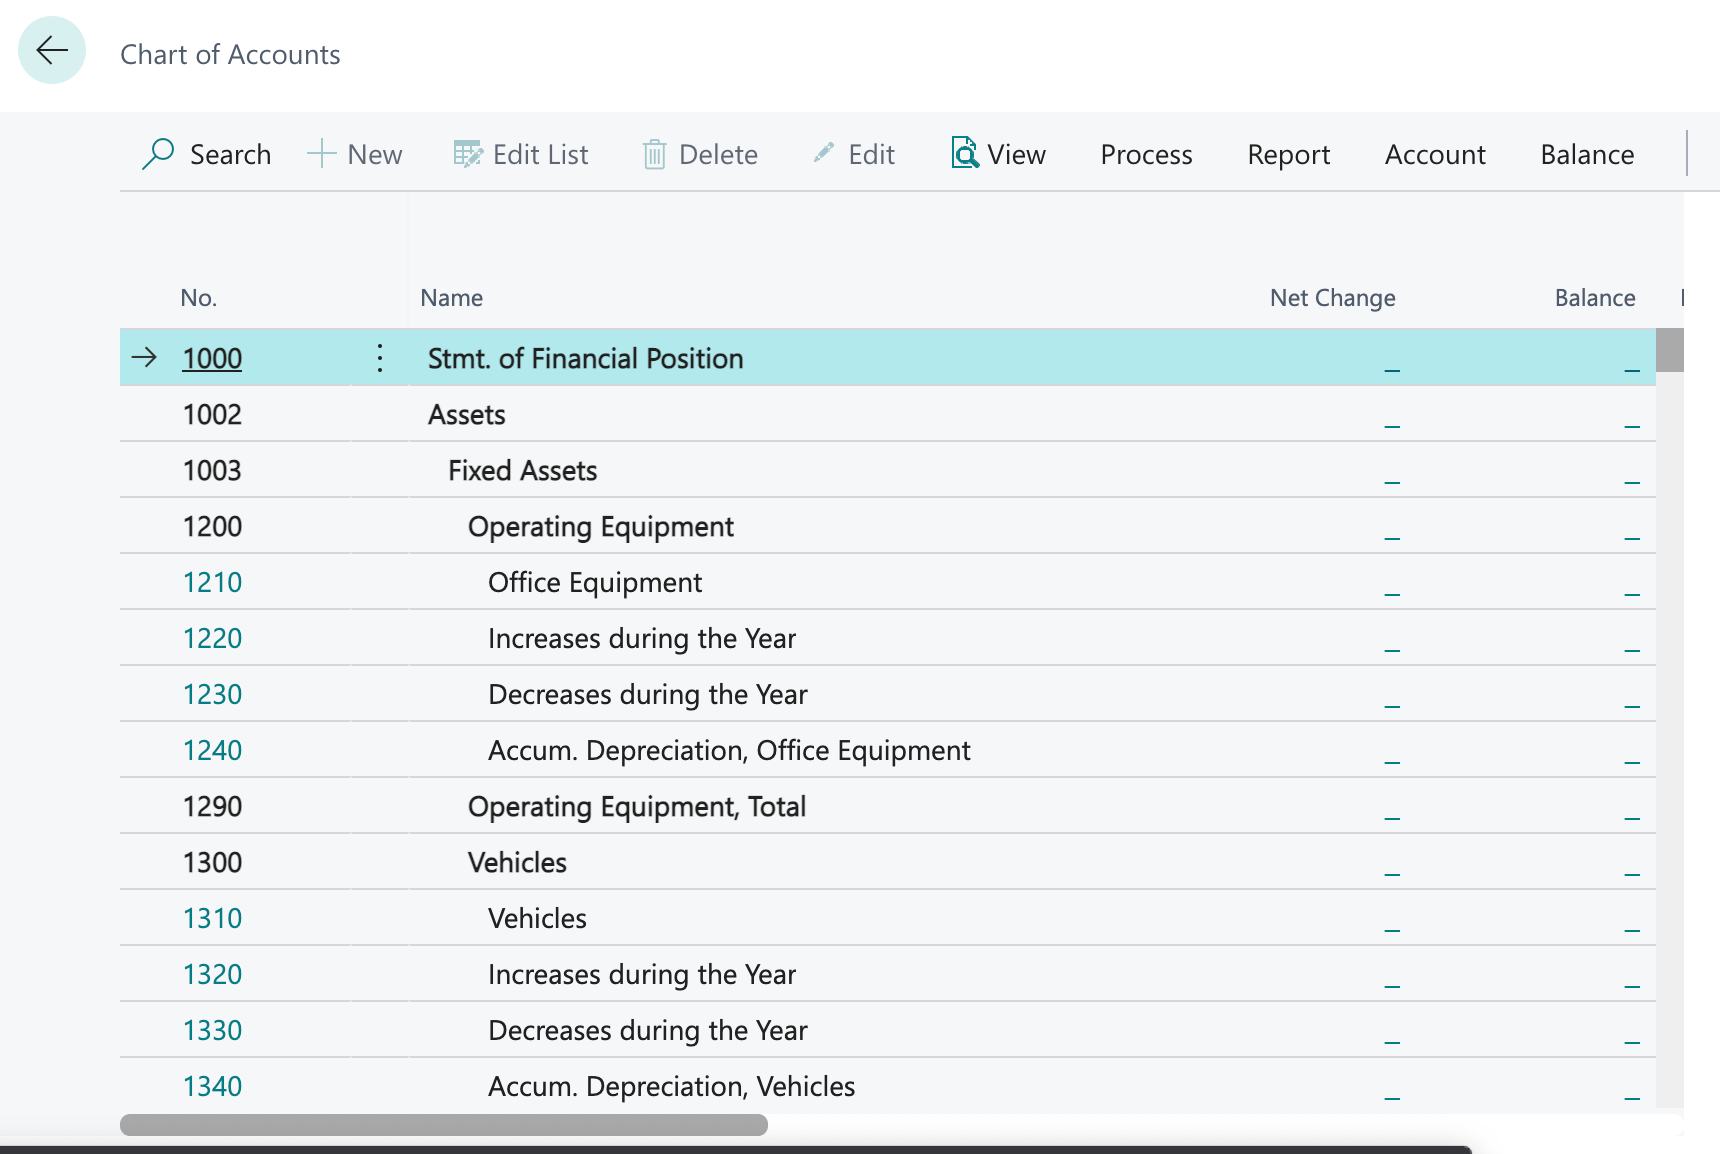
The Chart of Accounts
The chart of accounts shows all general ledger accounts. From the chart of accounts, you can do things like:
- View reports that show general ledger entries and balances.
- Close your income statement.
- Open the G/L account card to add or change settings.
- See a list of posting groups that post to that account.
- View separate debit and credit balances for a single account
You can add, change, or delete general ledger accounts. However, to prevent discrepancies, you can't delete a general ledger account if its data is used in the chart of accounts.
Account Categories
You can personalise the structure of your financial statements by mapping general ledger accounts to account categories.
The G/L Account Categories page shows your categories and subcategories, and the G/L accounts that are assigned to them. You can create new subcategories and assign those categories to existing accounts.
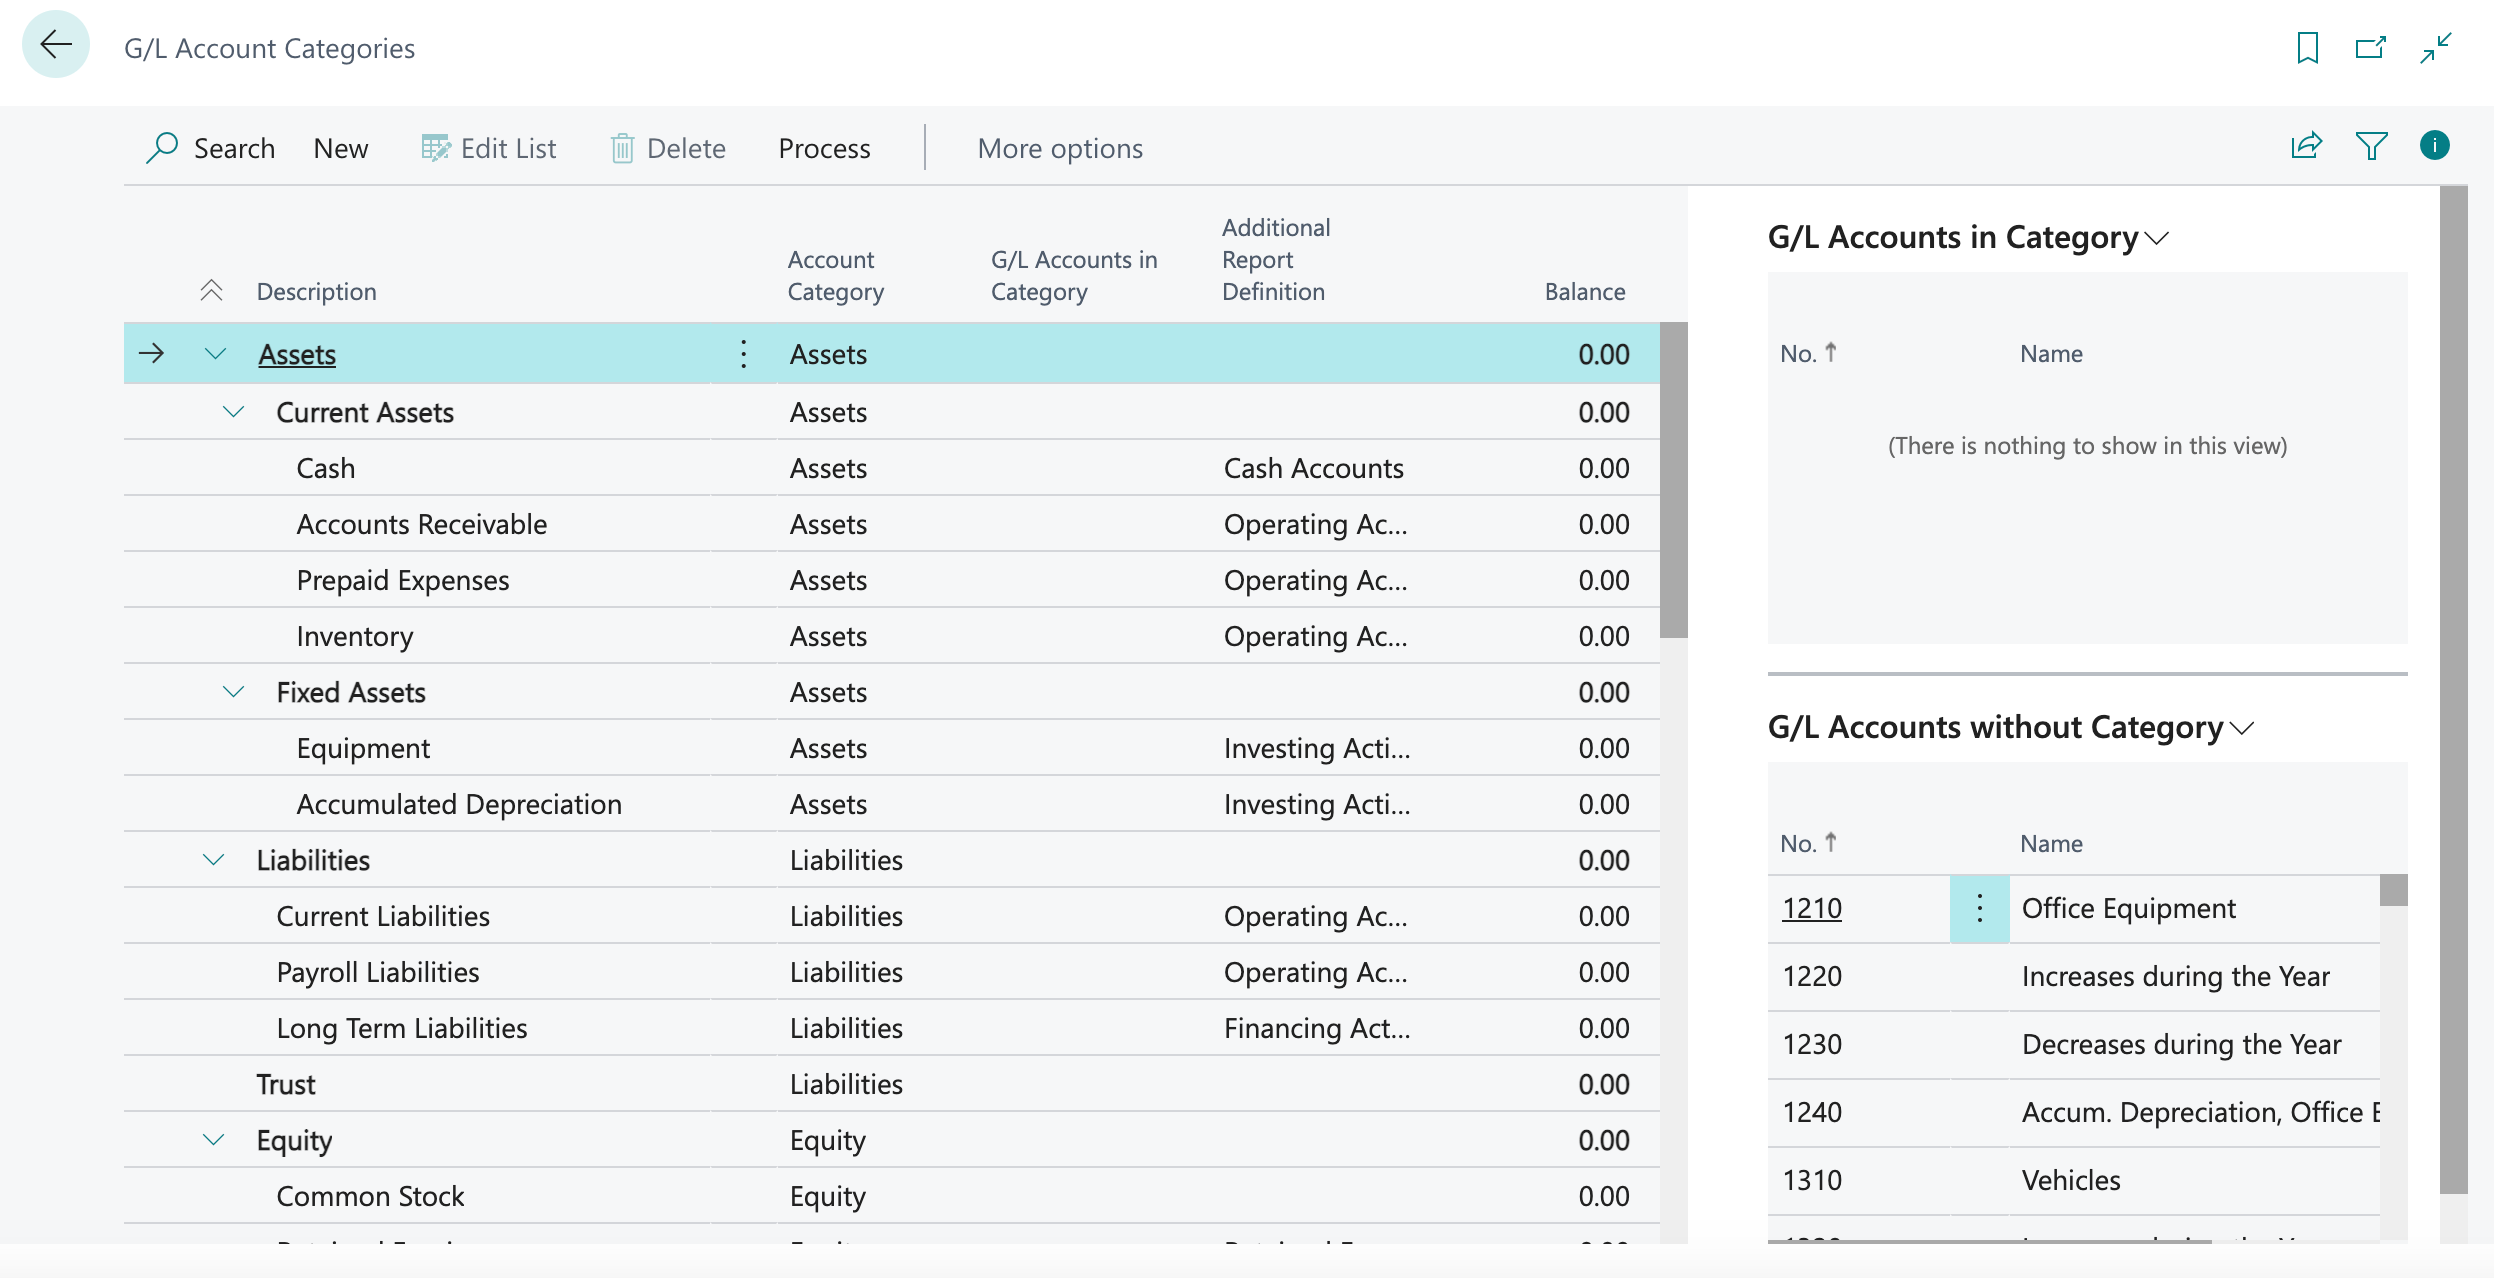
You create a category group by indenting other subcategories under a line on the G/L Account Categories page. This makes it easy for you to get an overview, because each grouping shows a total balance. For example, you can create subcategories for different types of assets, and then create category groups for fixed assets versus current assets.
You can specify whether the accounts in each subcategory must be included in specific types of reports. The account categories help define the layout of your financial statements.
Example
For example, the default balance statement has a subcategory for Cash under Current Assets. You want the balance statement to consider petty cash and cheque, so you take the following steps:
- Add two new subcategories:
- One for petty cash
- One for your cheque account
-
Specify the additional report definition Cash Accounts for these subcategories.
-
Indent them under the Cash subcategory.
The next time you generate account schedules, your balance statement will show a total balance for cash and two lines with balances for petty cash and the checking account.
Getting a Quick Overview
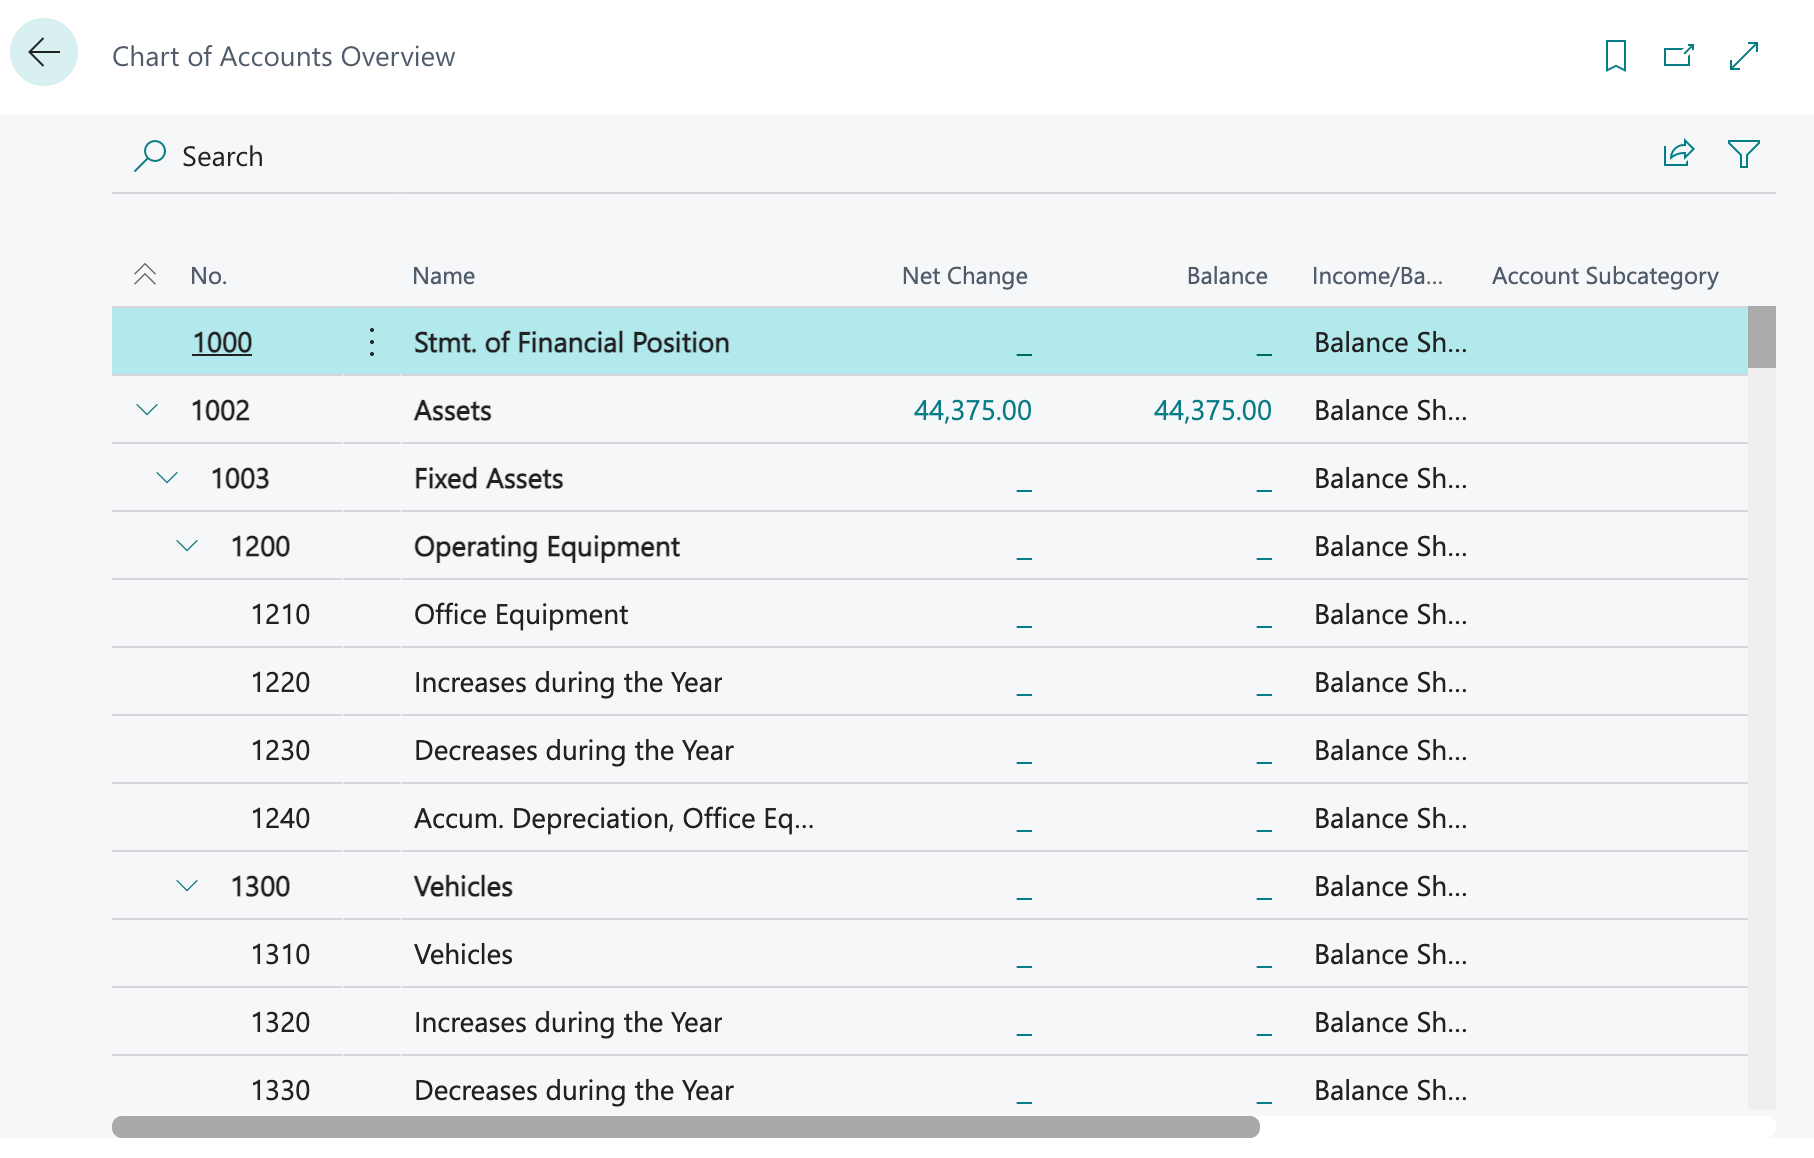
The Chart of Accounts page displays accounts in a hierarchical list that offers fast access to the key information for each account. However, the list is static, and if you have a lot of accounts you might have to do a bit of scrolling to view information for different accounts. If you just want a quick overview of the basics, such as net changes and balances, the Chart of Accounts Overview page is a useful alternative. The column layout on the page is now the same as you’ll find on the Chart of Accounts page (there are just fewer of them), so you won’t have to reorient yourself, and you can expand or collapse the hierarchical levels to condense the view. To make it easy to switch between the pages, the Chart of Accounts Overview page is available from the Chart of Accounts page.
Access to create and edit accounts and account categories
Access to edit the chart of accounts is limited by roles and permissions. If you are an administrator, or you have the Business manager or Accountant role, you can check the permissions for all users to make sure the right people have access to the relevant tables.
To create a new G/L budget
-
Choose the
 icon, enter G/L Budgets, and then choose the related link.
 -
Choose the Edit List action, and then fill in the fields as necessary. Hover over a field to read a short description.
-
Choose the Edit Budget action.
-
At the top of the Budget page, fill in the fields as necessary to define what is displayed.
Only entries that contain the budget name that you entered in the budget Name field are shown. Because the budget name has just been created, there are no entries that match the filter. Therefore, the page is empty.
-
To enter an amount, choose the relevant cell in the matrix. The G/L Budget Entries page opens.
-
Create a new line and fill in the Amount field. Close the G/L Budget Entries page.
-
Repeat steps 5 and 6 until you have entered all of the budget amounts.